CSS
Sprites技术被国内一些人称为CSS雪碧图,其实就是把网页中一些背景图片整合到一张图片文件中,再利用CSS的“background-
image”,“background-
repeat”,“background-position”的组合进行背景定位,background-position可以用数字精确的定位出背景图
片的位置。
Sprites技术被国内一些人称为CSS雪碧图,其实就是把网页中一些背景图片整合到一张图片文件中,再利用CSS的“background-
image”,“background-
repeat”,“background-position”的组合进行背景定位,background-position可以用数字精确的定位出背景图
片的位置。
一下是两张CSS Sprite样图:


在网站中的导航最常见最明显,一些地方的零碎小图标也多使用。
CSS知识点:
- background-image
- backgorund-position
- 特点:
- 相对于当个小图标,它节省文件体积和服务请求次数。将所有零碎的网页背景图片整合到一起,这样做可以有效的减少http对图片的请求次数,而不需要加载多次加载零碎的背景图片,所以合理的利用好它可以有效的提高网页的加载速度。
- 一般情况下,你需要保存为PNG-24的文件格式。
- 可以设计出丰富多彩的颜色体表。
- 难点:
- 你需预先确定每个小图标的大小
- 注意小图标与小图标之间的距离
-
细心、耐心
PNG-24的图片格式:PNG-24可减少毛边。
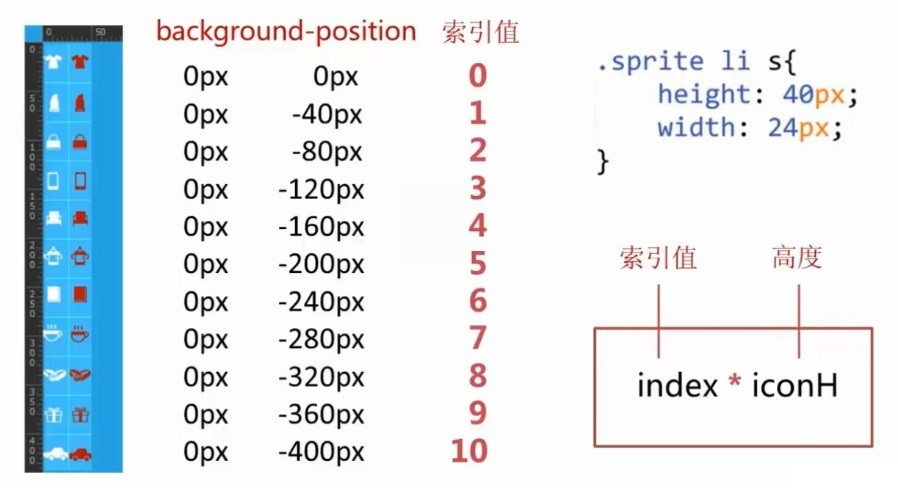
background-position 索引值
应用实例:仿某商城分类导航
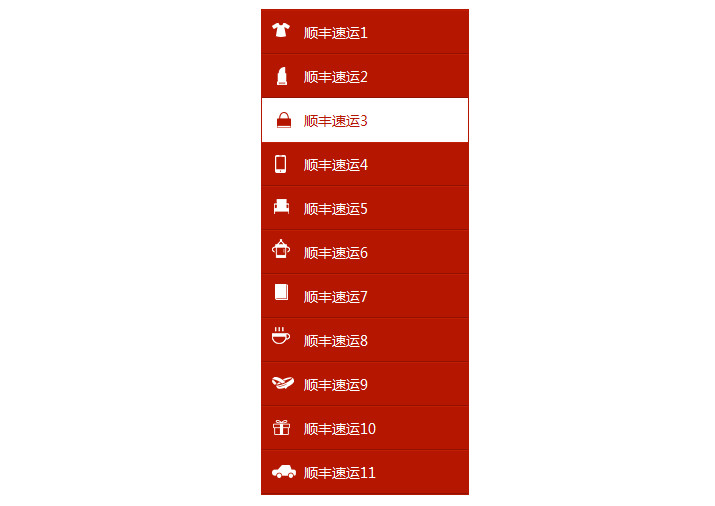
效果图如下:
首先,创建基本的HTML结构
HTML:
<ul class="sprite">
    <li id="1">
        <s style="background-position: 0 0;" class="s-icon"></s>
        <a href="index.html?cat=1">顺丰速运1</a>
    </li>
    <li id="2">
        <s style="background-position: 0 -40px;" class="s-icon"></s>
        <a href="index.html?cat=2">顺丰速运2</a>
    </li>
    <li id="3">
        <s style="background-position: 0 -80px;" class="s-icon"></s>
        <a href="index.html?cat=3">顺丰速运3</a>
    </li>
    <li>
        <s class="s-icon"></s>
        <a href="">顺丰速运4</a>
    </li>
    <li>
        <s class="s-icon"></s>
        <a href="">顺丰速运5</a>
    </li>
    <li>
        <s class="s-icon"></s>
        <a href="">顺丰速运6</a>
    </li>
    <li>
        <s class="s-icon"></s>
        <a href="">顺丰速运7</a>
    </li>
    <li>
        <s class="s-icon"></s>
        <a href="">顺丰速运8</a>
    </li>
    <li>
        <s class="s-icon"></s>
        <a href="">顺丰速运9</a>
    </li>
    <li>
        <s class="s-icon"></s>
        <a href="">顺丰速运10</a>
    </li>
    <li>
        <s class="s-icon"></s>
        <a href="">顺丰速运11</a>
    </li>
</ul>
效果如下:
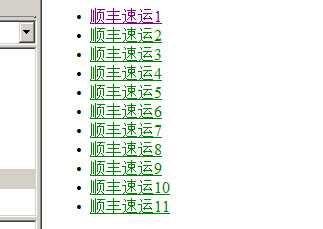
还没有样式,我们为他添加一些基本的样式
CSS:
ul{ list-style: none;margin: 0; padding: 0; }
.sprite{
    margin: 10px auto;
    width: 206px;
    border: 1px solid #b51600;
}
.sprite li{
    cursor: pointer;
    height: 42px;
    width: 206px;
    background-color: #b51600;
    border-bottom: 1px solid #911001;
    border-top: 1px solid #c11e08;
}
.sprite li a {
    color: #fff;
    line-height: 42px;
    font-size: 14px;
}
效果如下:
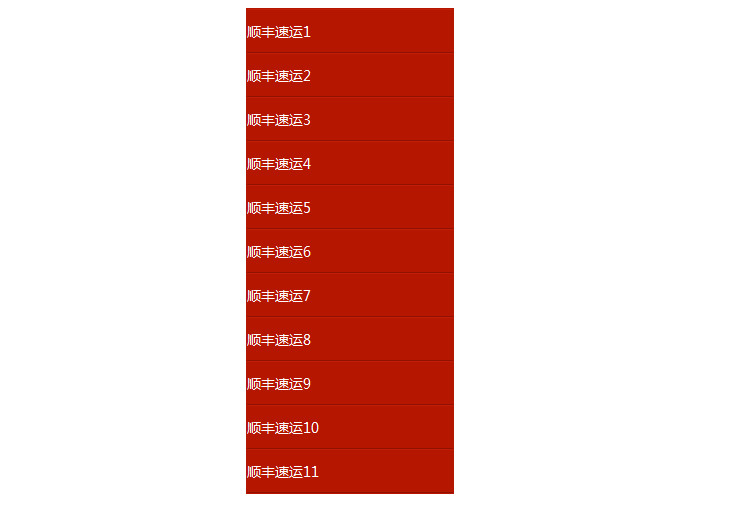
接下来我们为li下的s标签添加图和样式:
CSS:
.sprite li s{
    height: 40px;
    width: 24px;
    display: block;
    margin-left: 10px;
    margin-right: 8px;
    float: left;
    background-image: url("../images/s-icon.png");
}
.sprite li:hover{
    background-color: #fff;
    border-color: #fff
}
.sprite li:hover a{
    color: #b51600;
}
.sprite li:hover s{
}
效果如下:
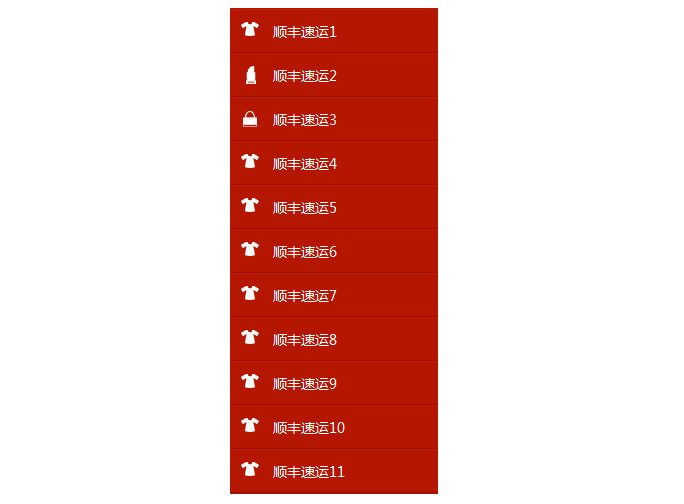
通过前面介绍的background-position 索引值,用JS统一创建定位坐标,并添加鼠标滑动切换效果:
JavaScript:
$(function(){
    var iconH = $(".sprite").find("s").height(),
        triggerLi = $(".sprite").children("li");
    //console.log(iconH);
    triggerLi.each(function(){
        var $this = $(this),
            $index = $this.index();
        //console.log($index)
        //console.log(iconH*$index);
        $this.children("s").css("background-position","0 -"+ iconH*$index +"px")
        $this.hover(function(){
            // 鼠标移入
            $this.children("s").css("background-position","-24px -"+ iconH*$index +"px")
        },function(){
            // 鼠标移出
            $this.children("s").css("background-position","0 -"+ iconH*$index +"px")
        });
    });

    //当前页面属于某个功能时,点亮相应菜单项,这里通过地址参数判断,实际项目中应该从后台读取标志
    var $cat = parseInt(getQueryString("cat"));
    var poistions = "-24px -"+ iconH*($cat-1) +"px";
    triggerLi.eq($cat-1).css({"background-color":"#FFF"}).find("a").css("color","red");
    triggerLi.eq($cat-1).find("s").css({"background-position":poistions});
});
// 获取URL参数
function getQueryString(name) {
    var reg = new RegExp("(^|&)" + name + "=([^&]*)(&|$)", "i");
    var r = window.location.search.substr(1).match(reg);
    if (r != null) return unescape(r[2]); return null;
}
这样我们就做好了这个导航效果,因为纯静态的关系,当前页面点亮对应菜单项有BUG,但基本已经全部表达出我的意思了。


